

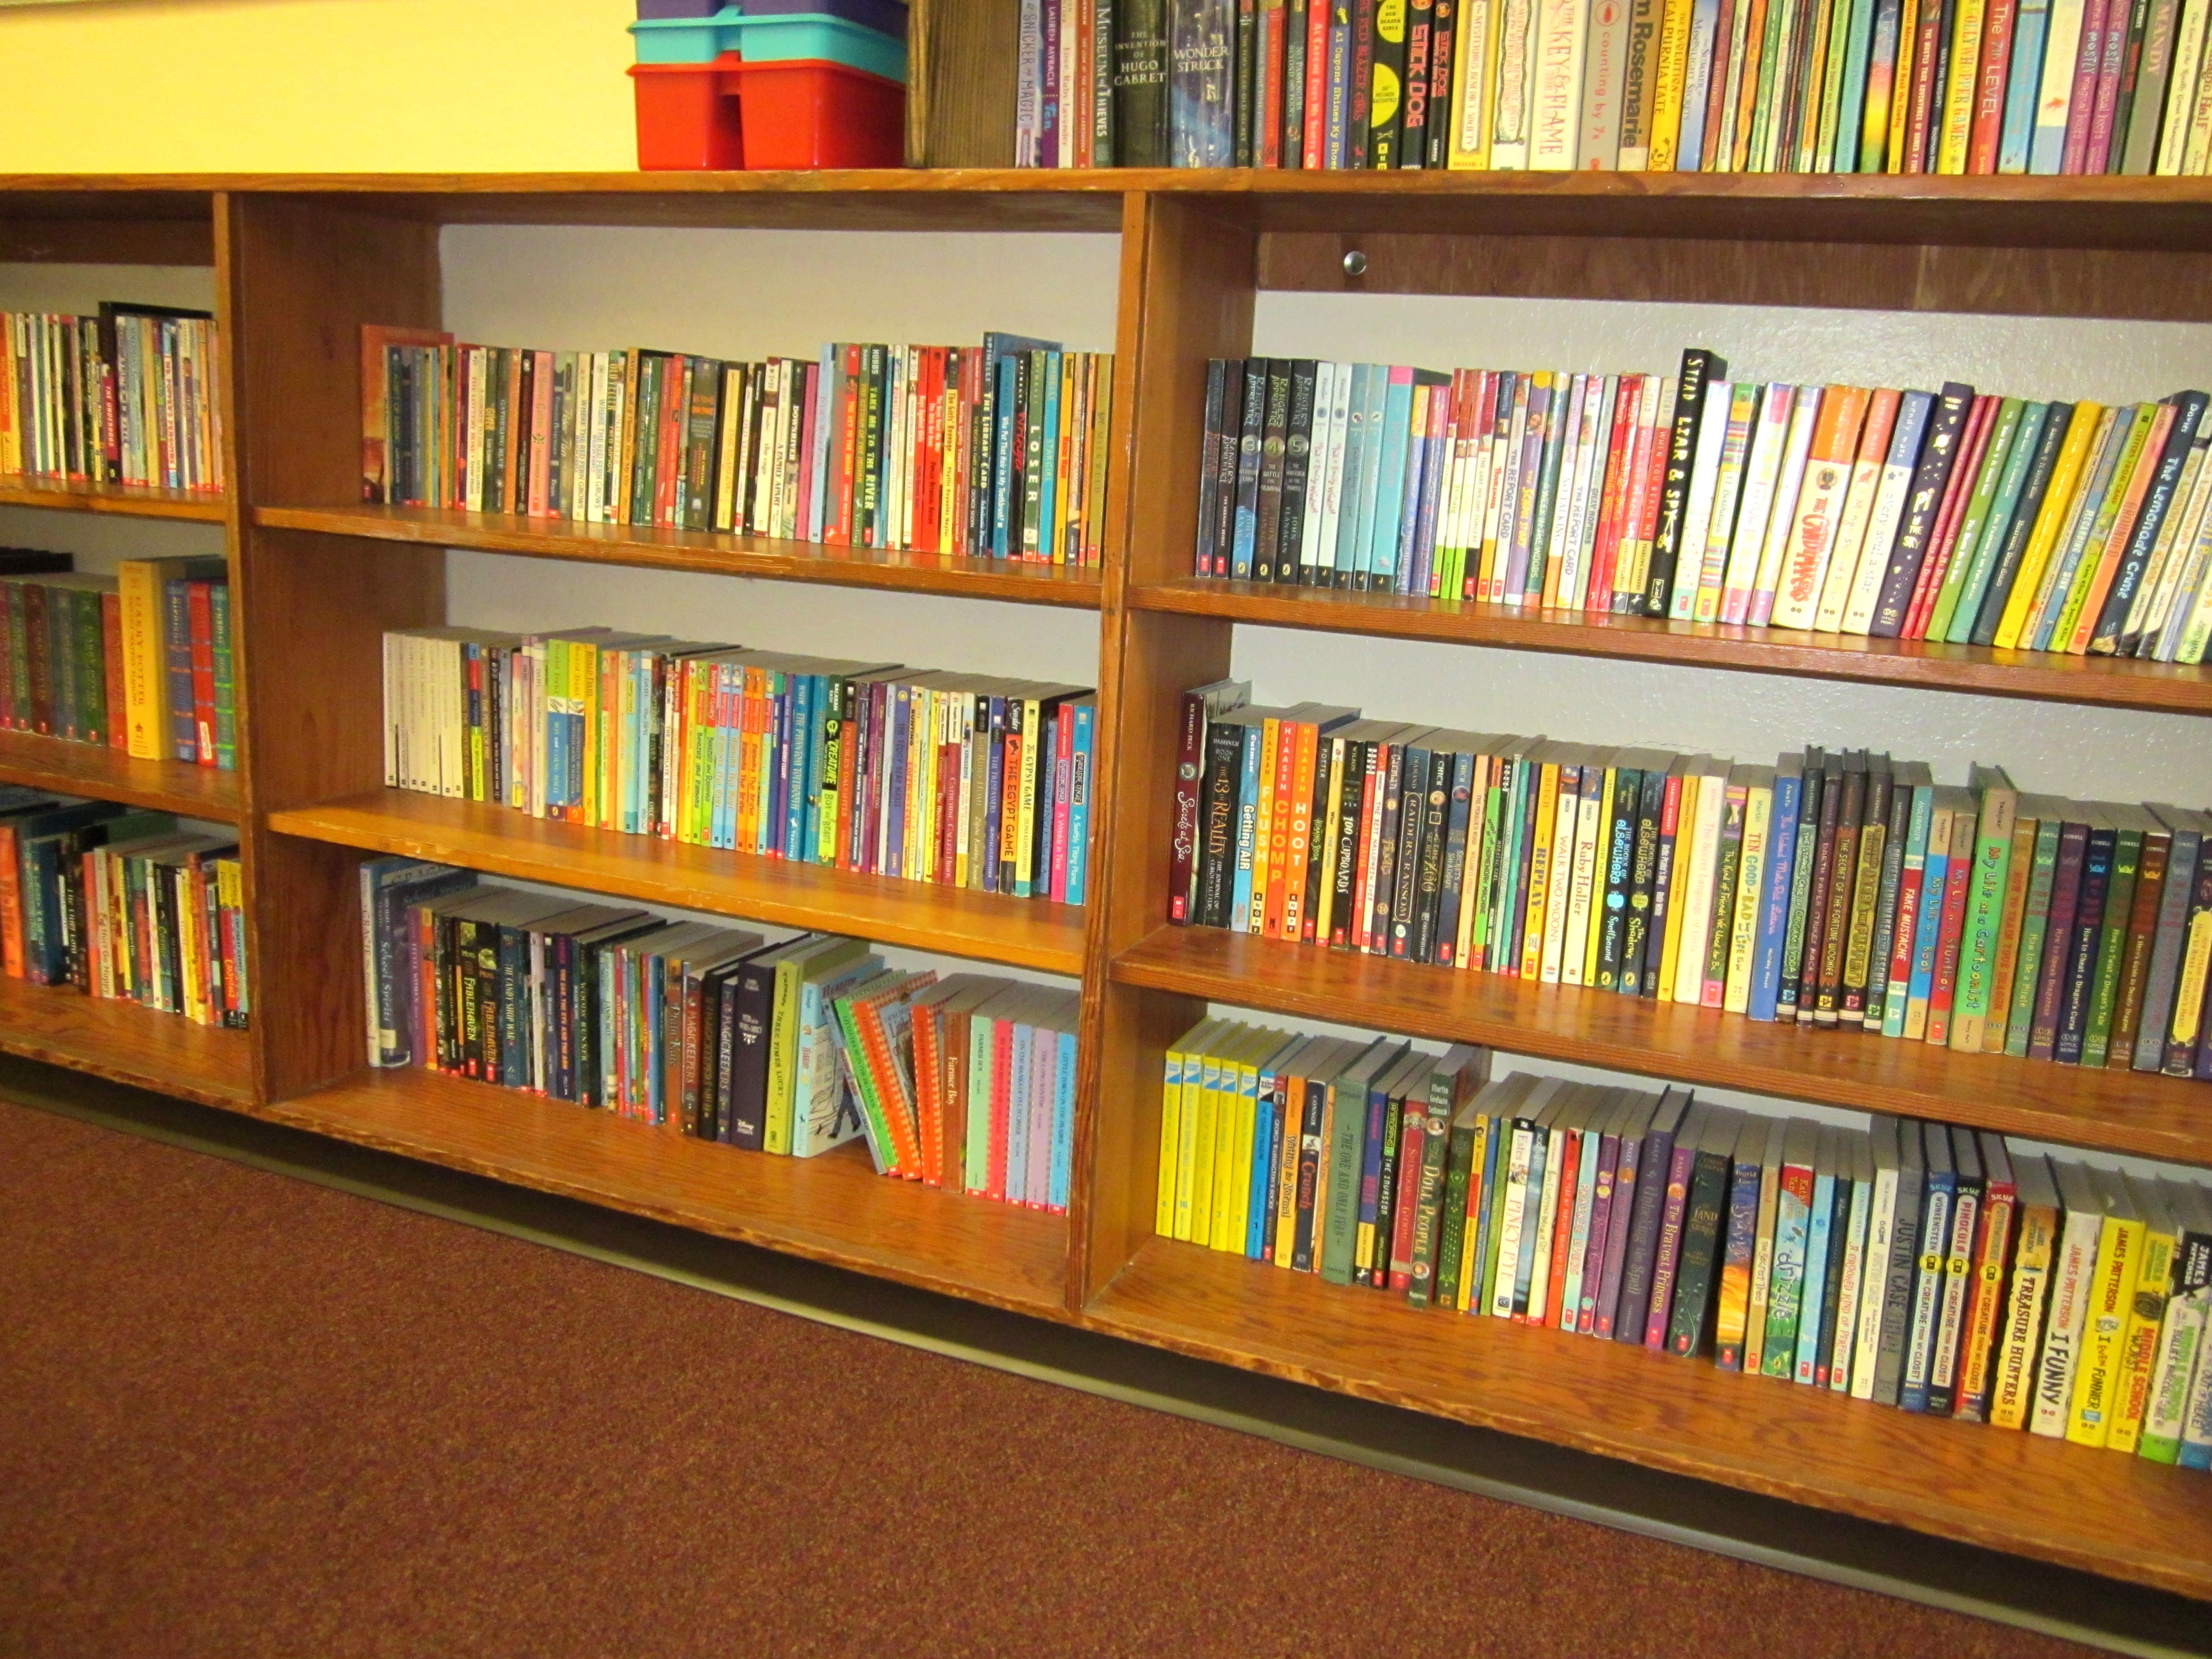
My classroom library is my pride and joy. It is like a third child to me, and I take great pains to protect it. Many student hands come in daily contact with the book collection and have the potential to destroy one of my cherished books. One defense I use to protect my library is to wrap each book in clear contact paper. This is a labor of love for sure but well worth it. If you have invested both time and money in a quality classroom library, wrapping your books will extend their lifespan.

Materials
- Con-Tact Brand Shelf Adhesive Shelf Liner clear with matte finish and gridlines (I usually purchase at WalMart or Staples)
- paperback books
- sharp scissors
- clear, flat surface like a large tabletop with a straight edge
Directions
- For standard sized paperback books, measure 2 books of about the same size at the same time. Unroll a little of the contact paper with the gridlines facing down and the roll unwrapping to the left. Set two books, cover facing up, on the contact paper. The books act as a weight to hold the contact paper still as well as guidelines for measuring the size of the cover needed for the book.
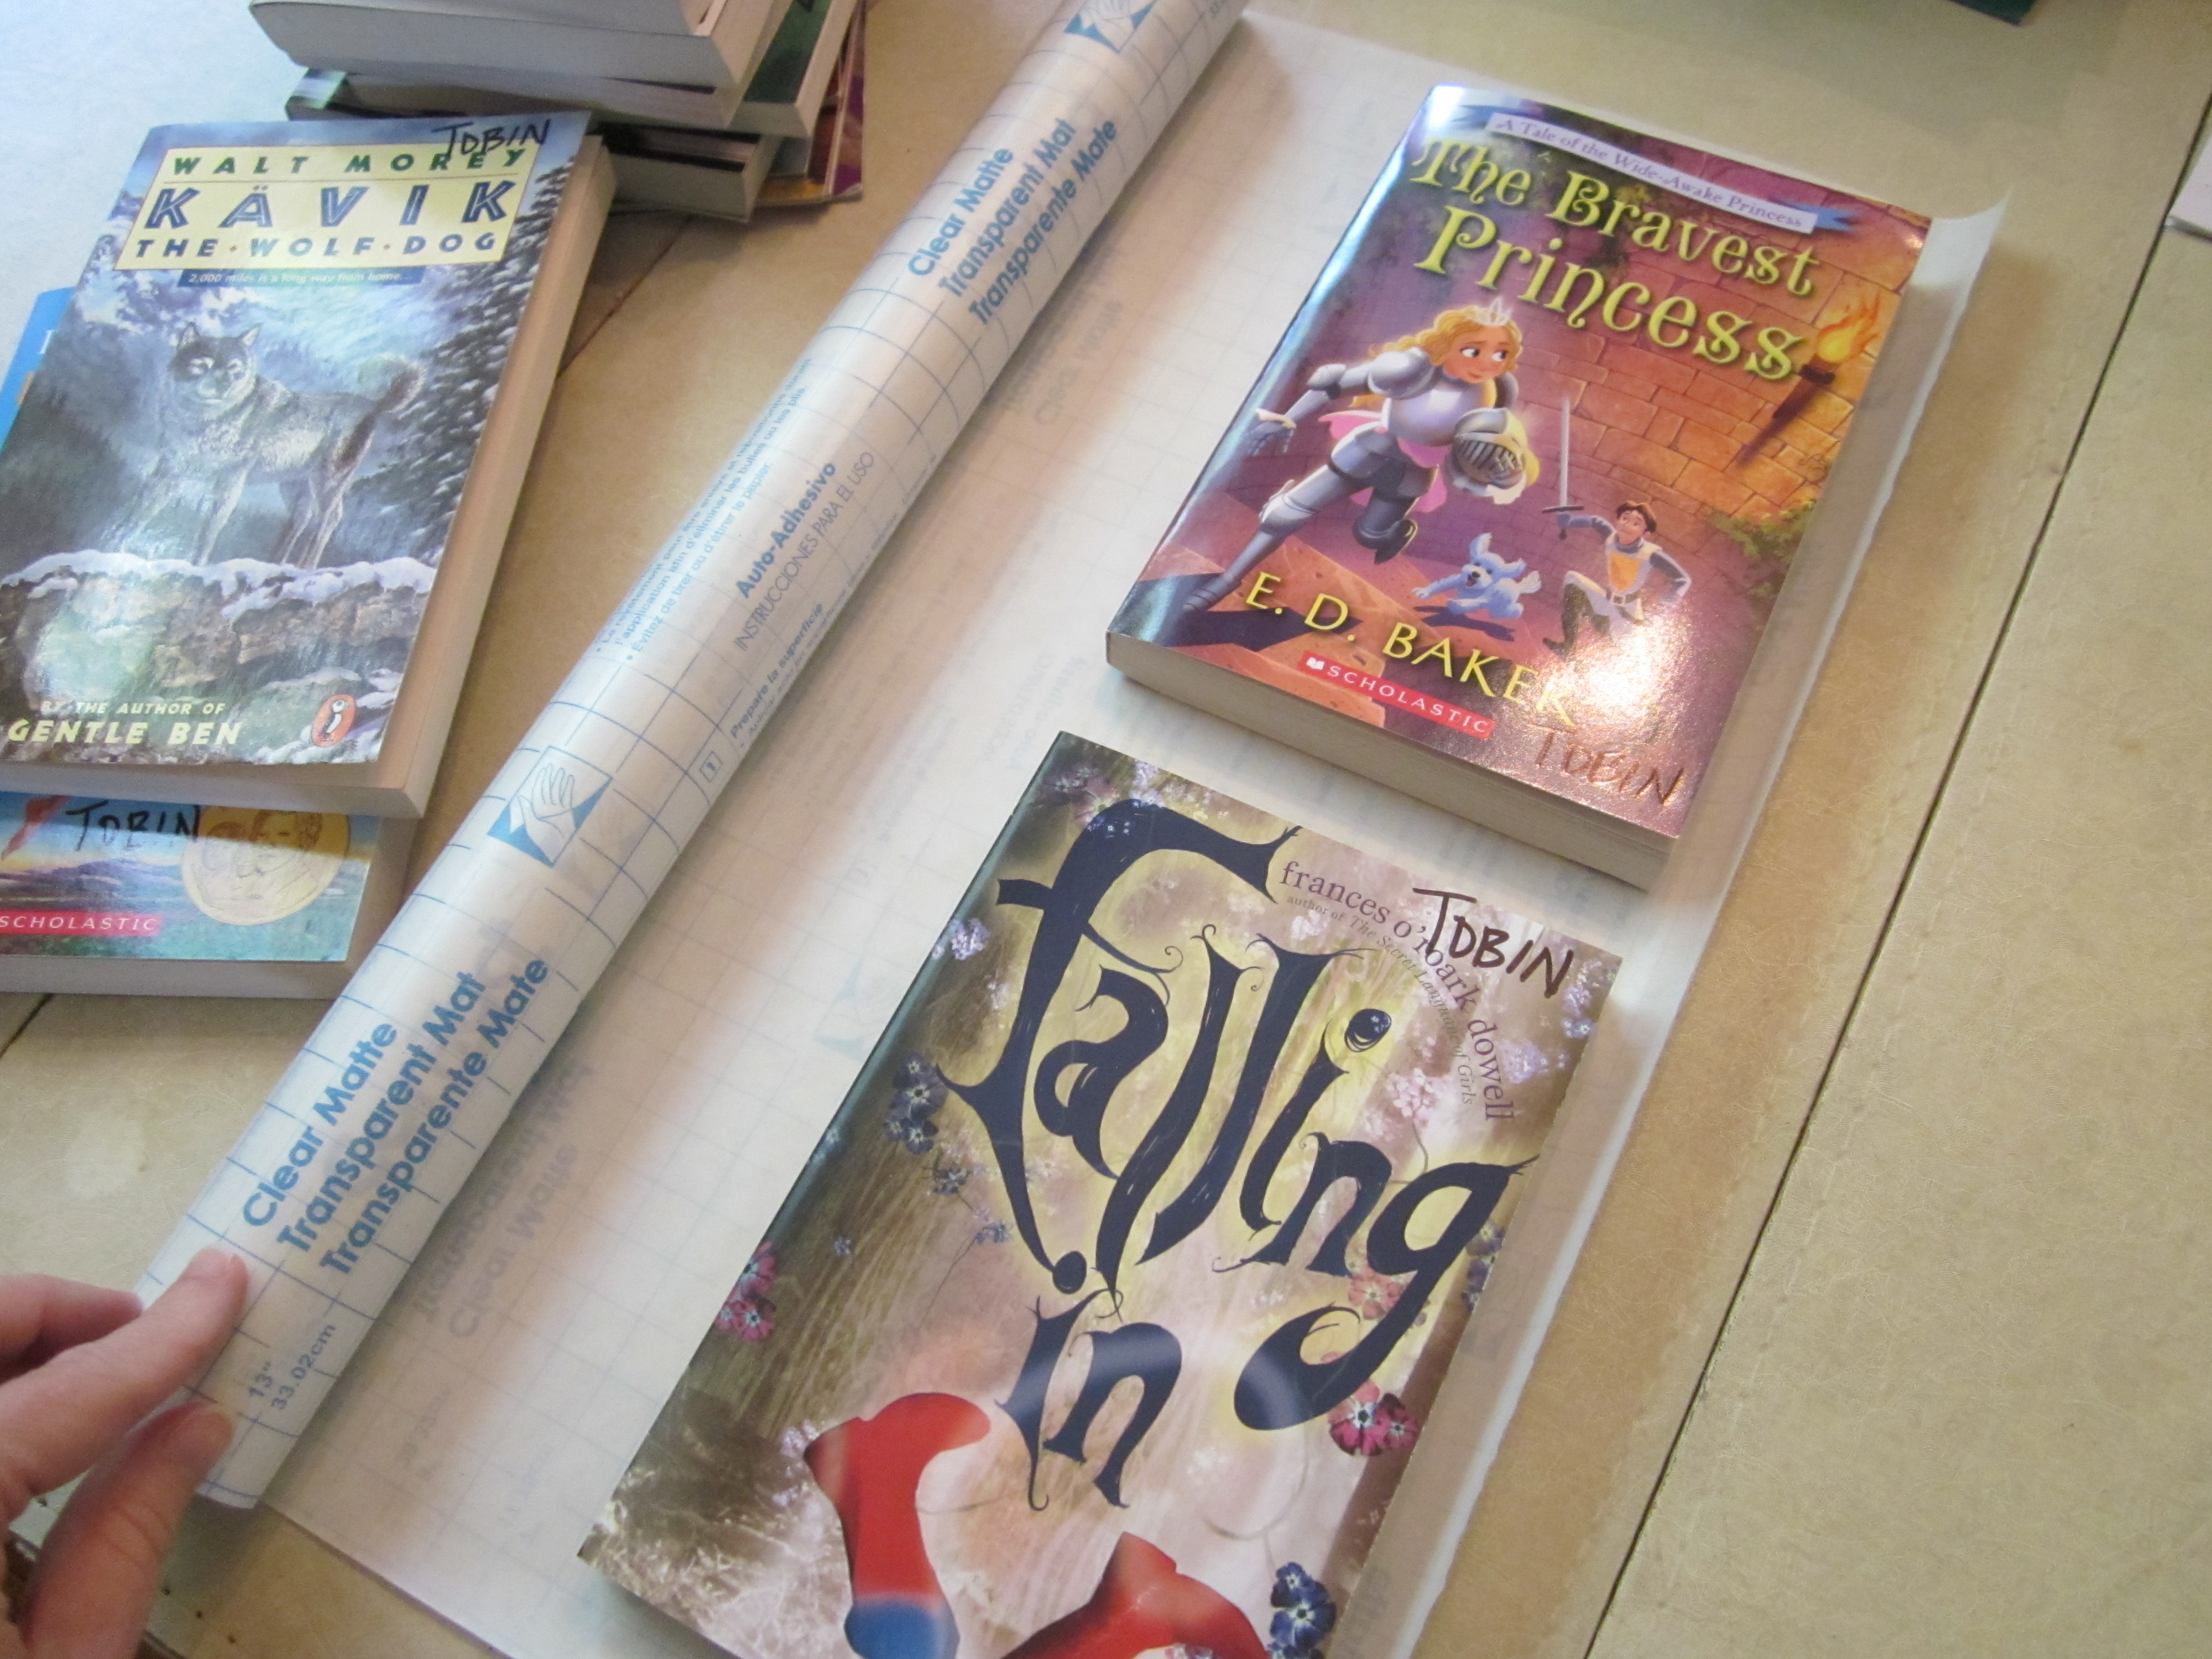
- Carefully take the fattest book and roll it over the contact paper to the left, so the cover will be face down. This measures the length of contact paper you will need for both books. Cut the contact paper about 1 inch beyond the edge of the fatter book. Use the gridlines to help cut straight lines.

- Keeping the books spaced on the contact paper, cut down the center of the two books making sure there is (roughly) even amounts of contact paper above and below the edges of each book.

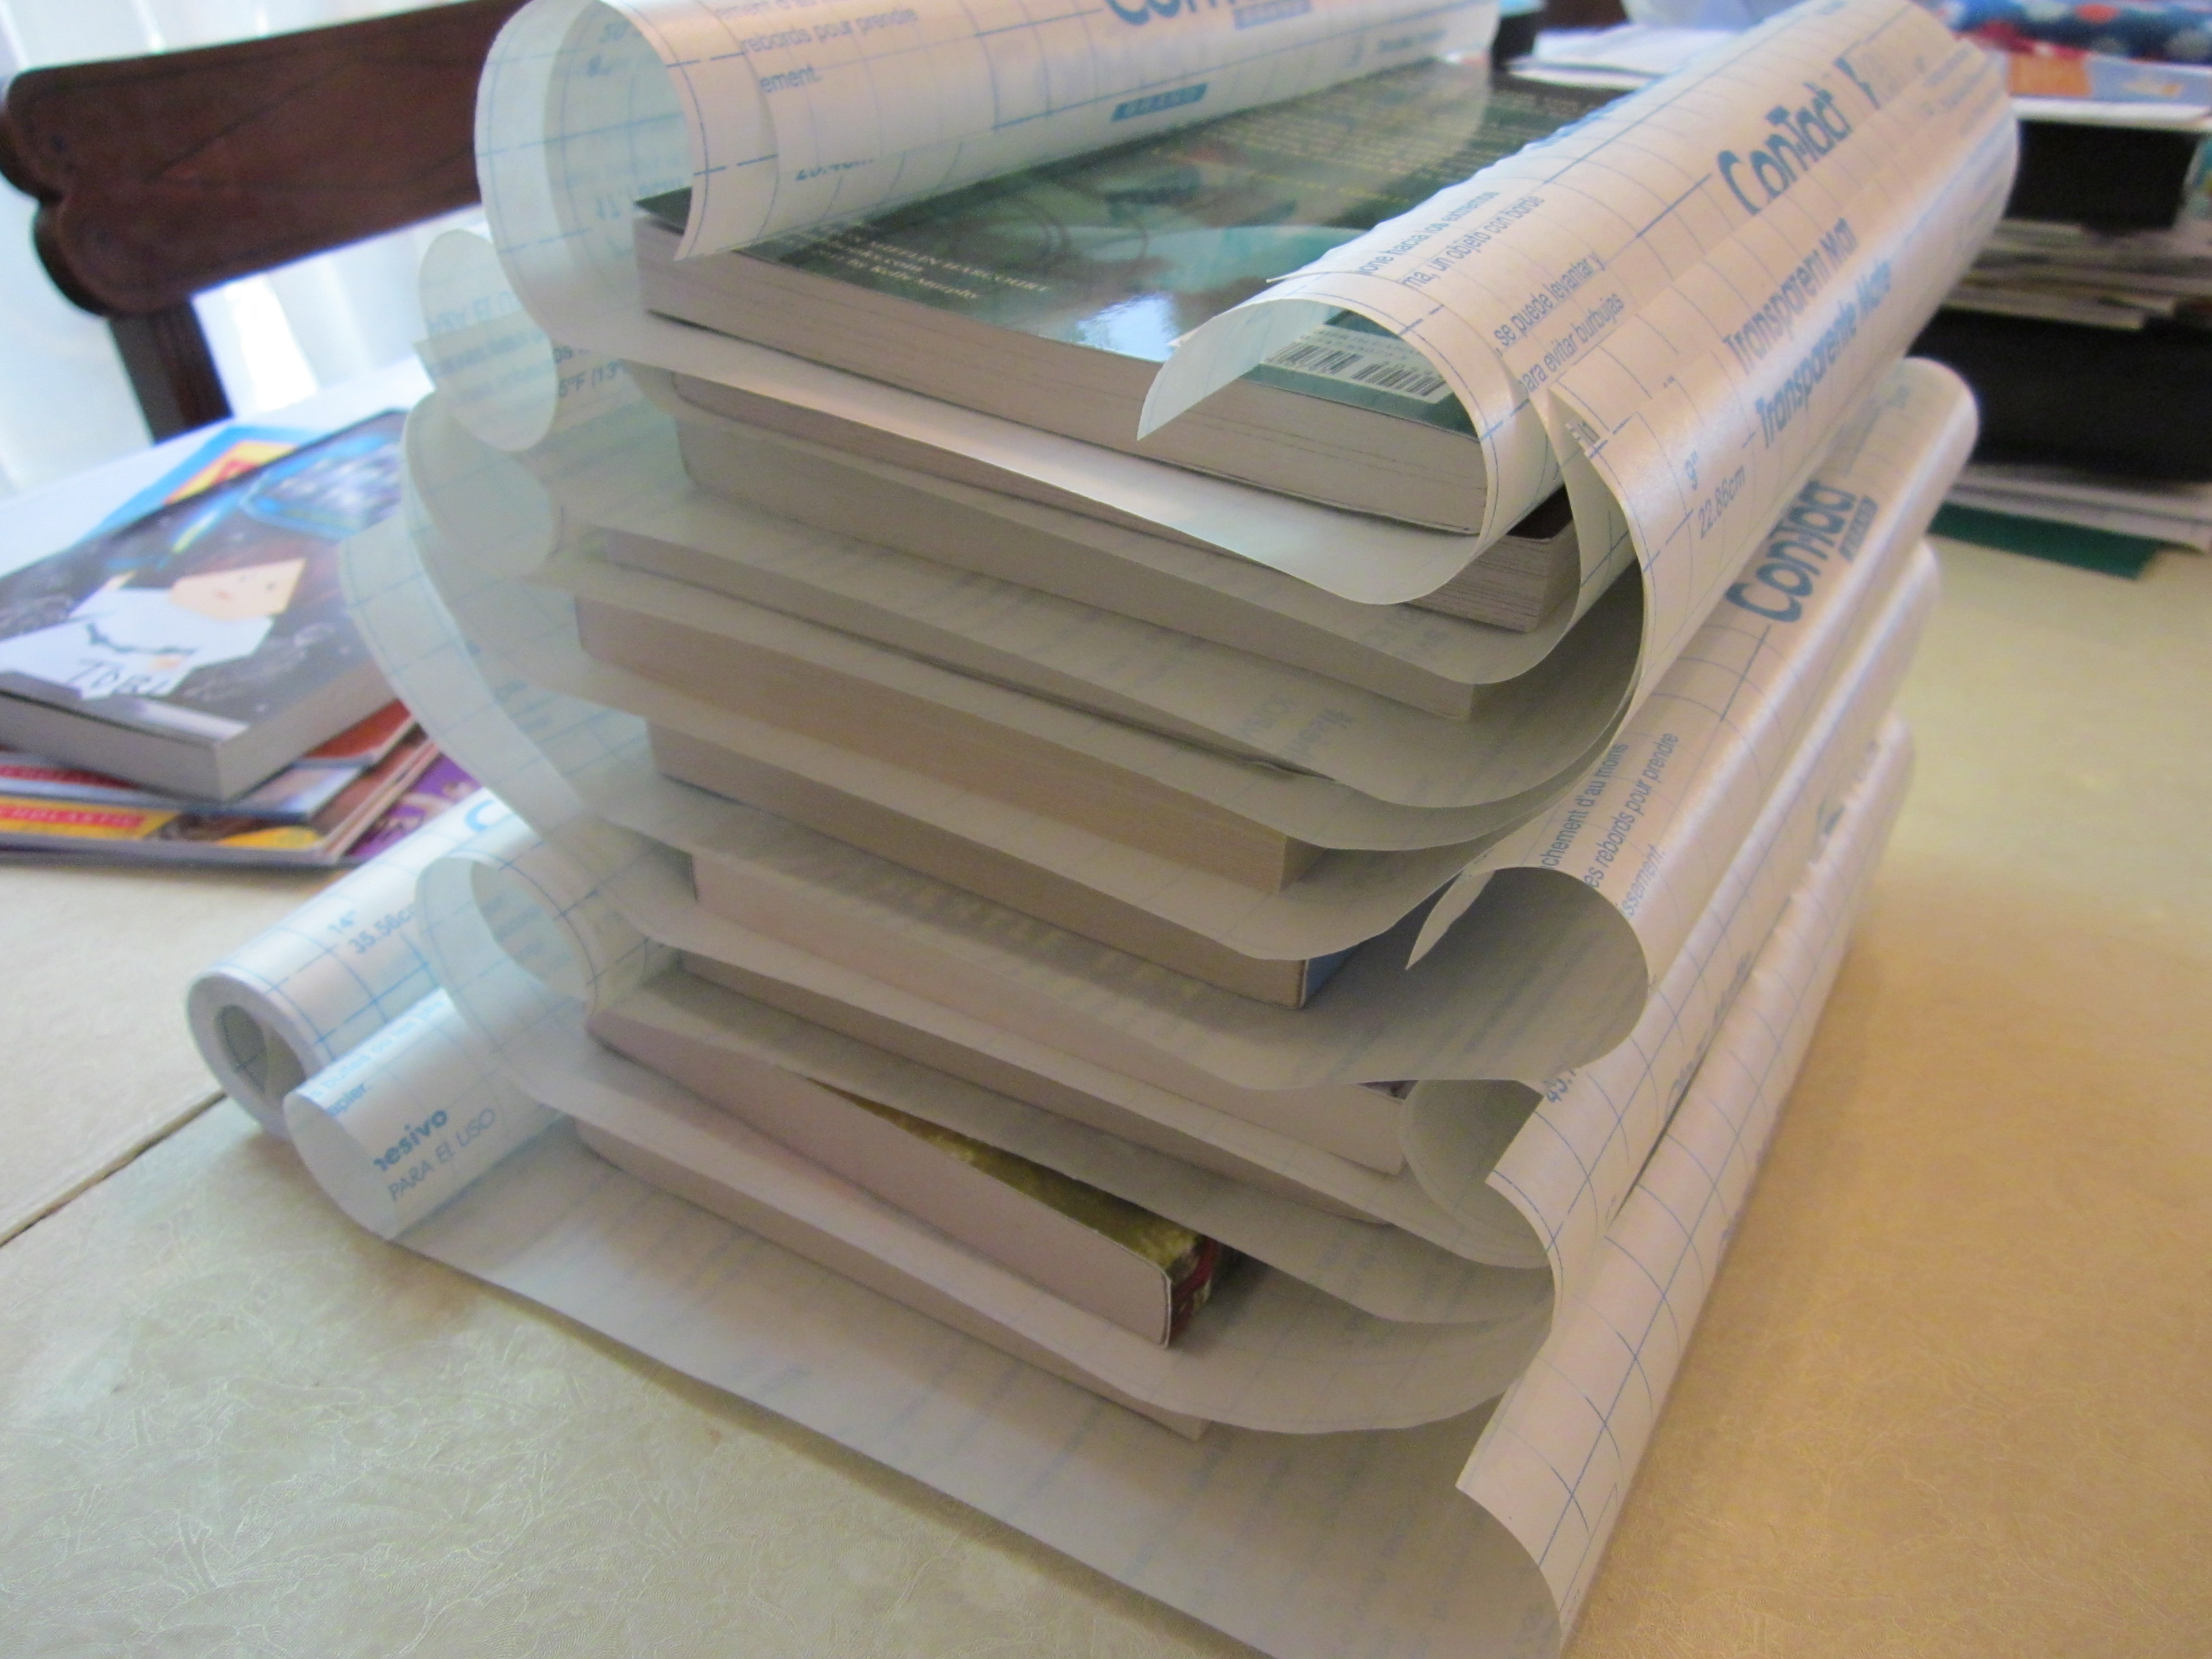
- Cut sheets of contact paper for all books that need to be covered at one time to make the process more efficient. Keep each book with its matching piece of contact paper.
- Take one piece of contact paper and put it on a flat, clear surface with the gridlines down. Set the book that goes with that piece of contact paper on top. The paper rolls up a little, and the book helps keep the contact paper spread out. Using your fingernail, gently peel away the paper backing starting at the top or bottom corner. I like to start with the top right corner, and I am right-handed. If you do not pull the backing away evenly, the paper will crease leaving a line that looks like a scratch (which drives me crazy). As you pull the backing away, lift the paper up off the table letting the book fall off.


- Once the backing is off the contact paper exposing the sticky side, place the paper sticky side up on your flat surface landscape direction. Have the bottom edge of the contact paper line up with the bottom, straight edge of the table. This will help keep book placement on the contact paper straight and even.
- Gently set the back cover of your book near the right edge of the contact paper. Try to leave about a 1-inch border on the top, bottom, and right side of the book. In other words, center the top and bottom of the book on the contact paper and have the book close to the right edge of the contact paper.

- Pick up the book from the right side and smooth the back of the book with your free hand. Begin to wrap and push the contact paper around the spine of the book. Turn the book over and carefully press the contact paper across the cover pushing from the spine towards the loose end of the pages.


- Smooth out any bubbles between the book and contact paper by pushing gently with your fingers and/or heel of your hand to the closest edge.

- With your scissors, cut diagonally along the top 2 outside corners and the bottom 2 outside corners. You will snip off triangles.

- Make diagonal snips on the front and back corners near the spine.
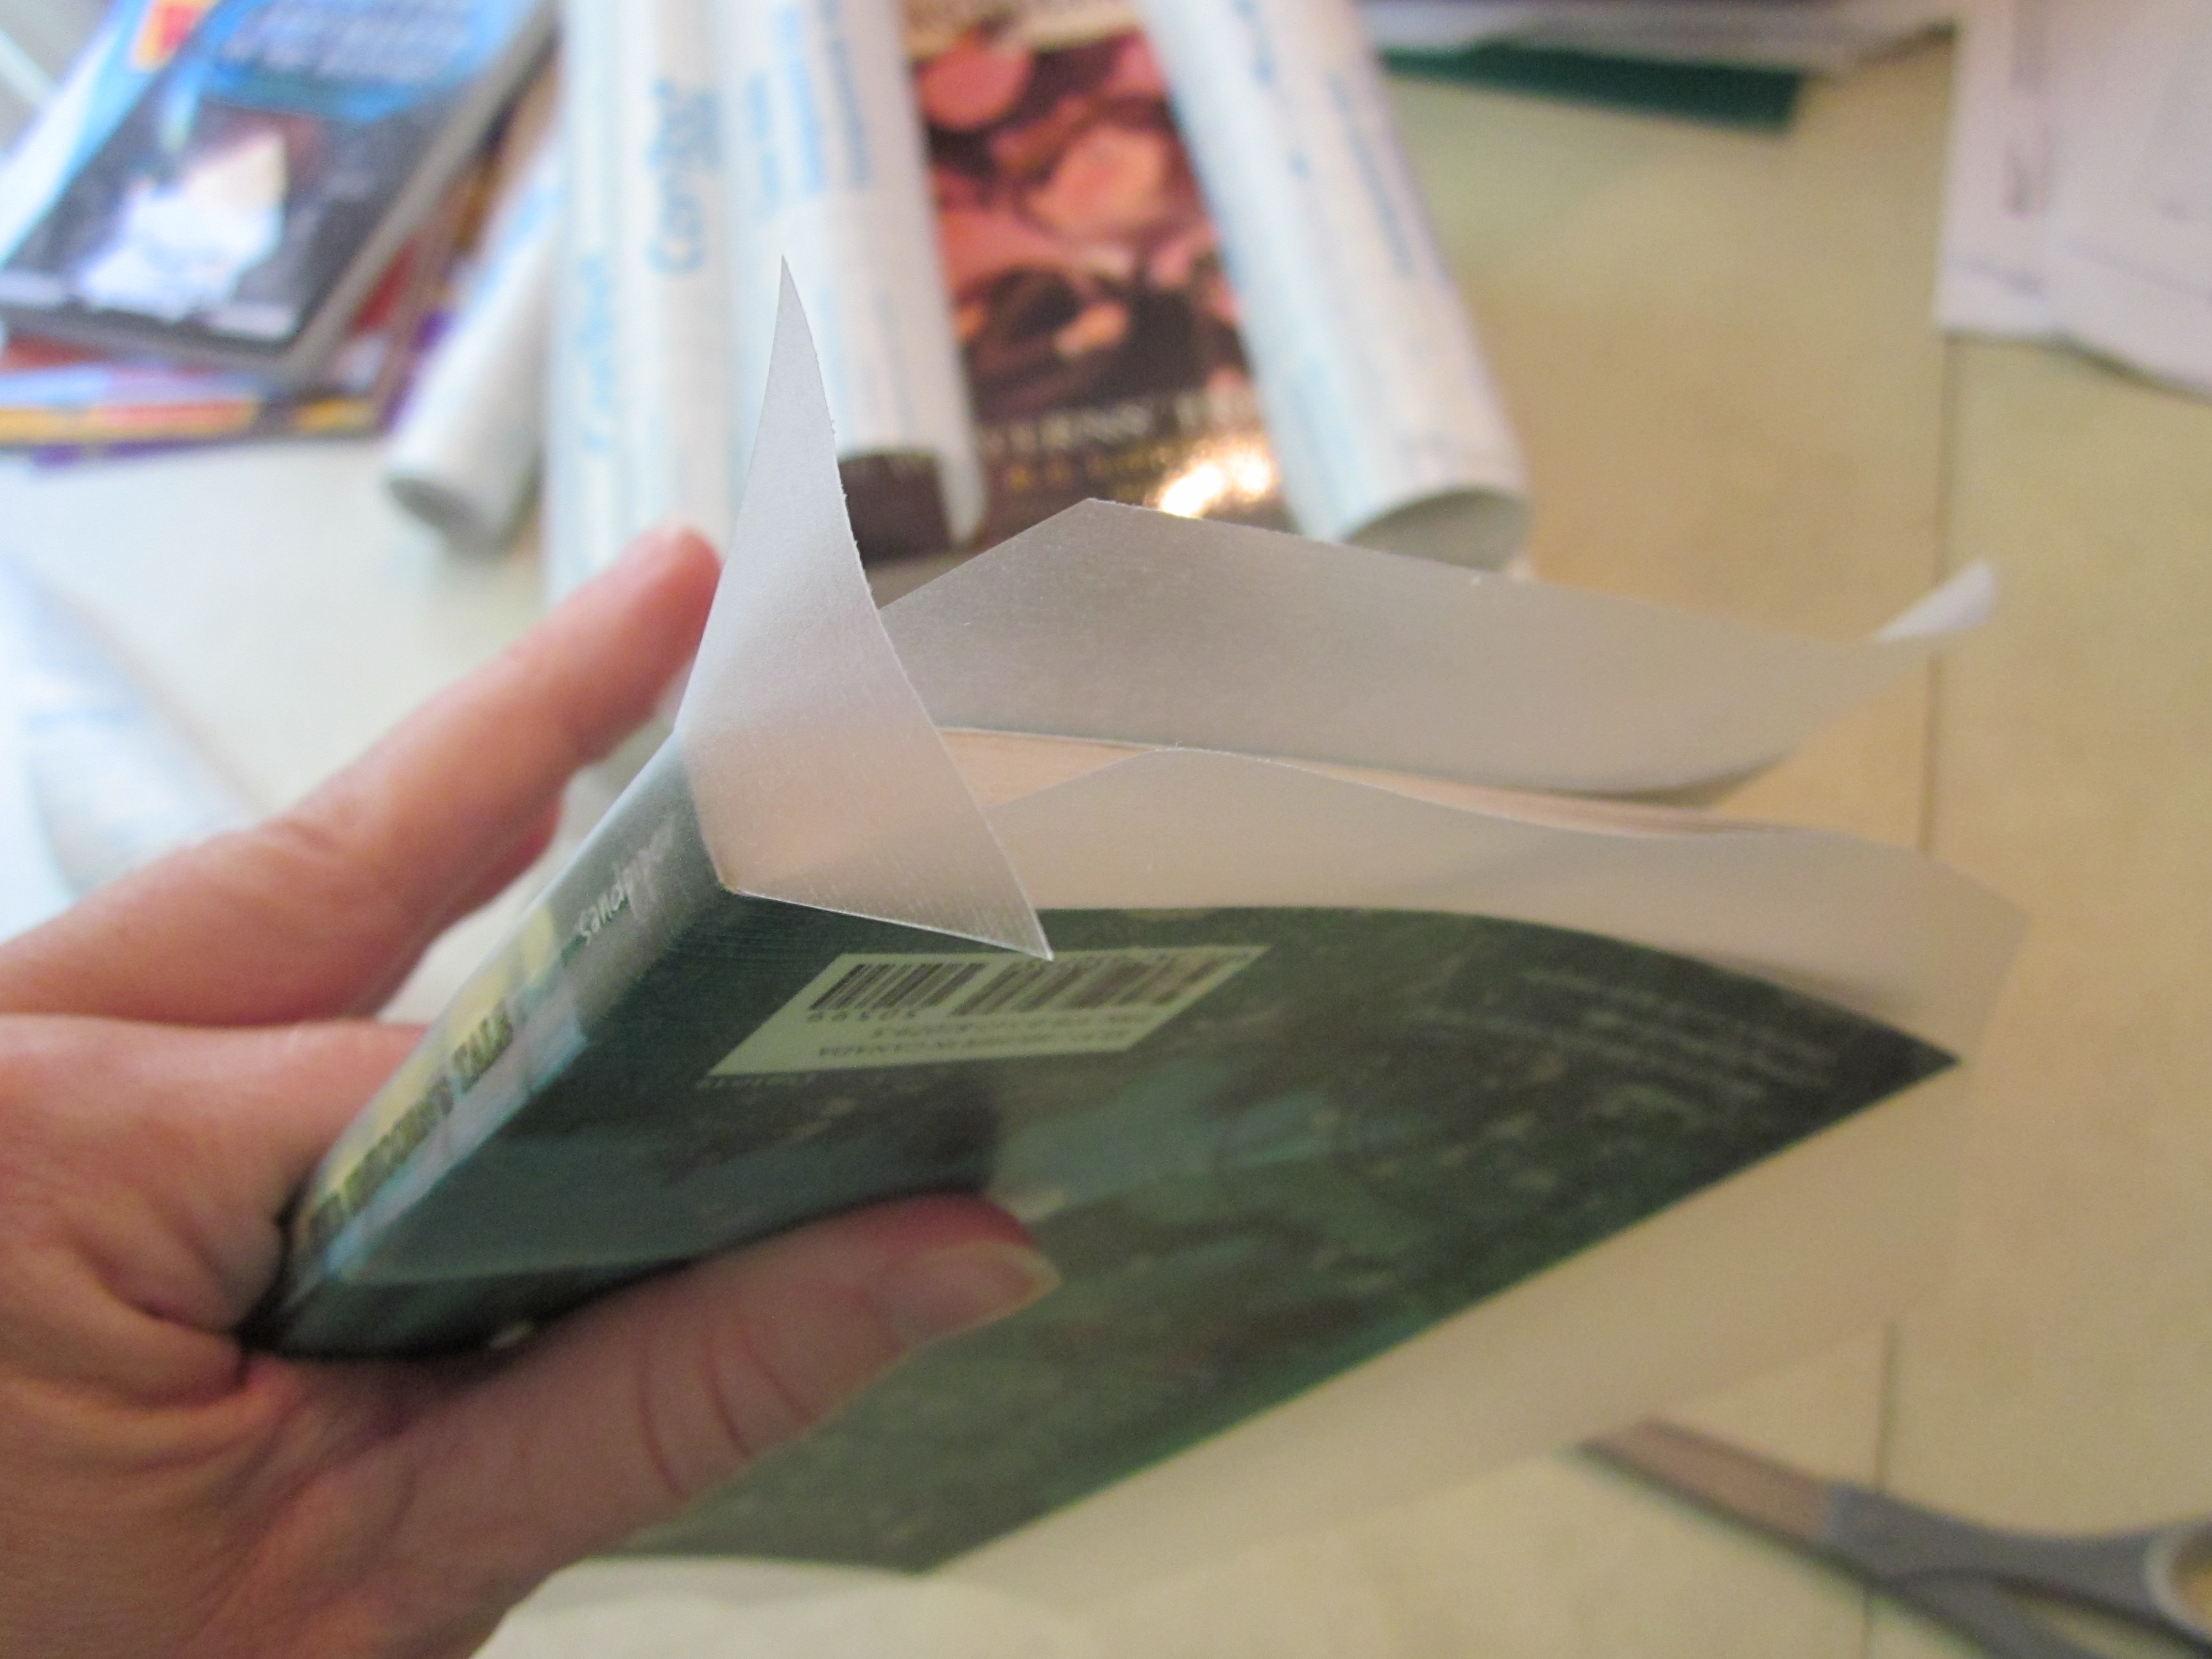
- Press the sticky tab of contact paper on the top of the spine to your pointer finger and pull it back and down until it separates just a little below the spine of the book. Snip the tab of contact paper off the book. Repeat at the other edge of the spine.

- You will now have 3 flaps hanging over the edge of the front cover of the book and 3 flaps on the back. Carefully wrap the flaps around the cover of the book and stick them down to the inside of the covers, pressing carefully to avoid wrinkles.


Notes
- Your first few books will probably have wrinkles and mis-aligned contact paper. You get better (and faster) at covering the more you practice!
- There are a variety of clear "shelf" papers available. The Con-Tact brand is my favorite, and the easiest for me to use.
- If you have a large library, I would not recommend going back to cover every book. I would begin covering any new books that you add to your collection and any damaged books that you have.
- To cover a damaged book (hardback or paperback), repair with clear packing tape first, then wrap in contact paper.

I would love to hear some other suggestions to help care for a classroom library. What steps do you take to keep the books in good condition and accounted for?
Caitlin Tobin
This is great! Do you do anything special to the dust jacket of hardback books?
ReplyDeleteI remove the dust jackets and put the "naked" hardback book in the library. If the hardback gets really beat up, then I cover it with the contact paper like the paperbacks. I keep the dust jackets in my teacher closet, and the students never see them (which is too bad since all the good info and images are on the dust jacket).
DeleteI laminate my dust jackets so they can be kept with the books.
DeleteLaminate! Yes-- I should have thought of doing that.
DeleteThank you so much for this quick tutorial! It will be very helpful! Great job for volunteers!
ReplyDeleteLiteracy Loves Company
Great idea, thank you! This is my first year teaching and I'm very nervous about all of my personal books being in the hands of kiddos.
ReplyDeleteHaving covered books definitely makes me feel better about loaning them to students. I still have some get damaged every year. *sigh*
DeleteGreat idea!!!
ReplyDeleteRockin Resources
I did this for all my classroom library books and it makes them last so much longer. Some years I had a lot of parent volunteers and would have one of them work on covering books every week. That really helped. Your step-by-step directions would be a perfect way to train volunteers for this task.
ReplyDeleteDebbie
Crockett's Classroom . . . Forever in Third Grade
This is a great job for classroom volunteers!
DeleteYour method is so much easier than mine!
ReplyDelete